Thursday, December 11, 2014

Triple Barrel feeder for the chicken Taj Mahal!

The "Not Your Typical" Triple barrel Chicken feeder!

 
This is where we start our build today, PVC and a 2x6! I enjoy working in pvc except when the people at lowes ask me what I am working on and I tell them I am building a chicken feeder and then there is that awkward silence and puzzled look.... They will get over the shock -eventually!
The pvc I am using for this project is actually drainage pipe. I am using drain pipe for two reasons. 1. It is a lot cheaper especially when you start buying fittings and elbows and stuff! 2. My Sister had some lying around and asked me to get rid of it, So I did! The drain pipe is a lot thinner walled than the regular schedule 40 stuff at lowes but for what we are using it for it will be more than okay.
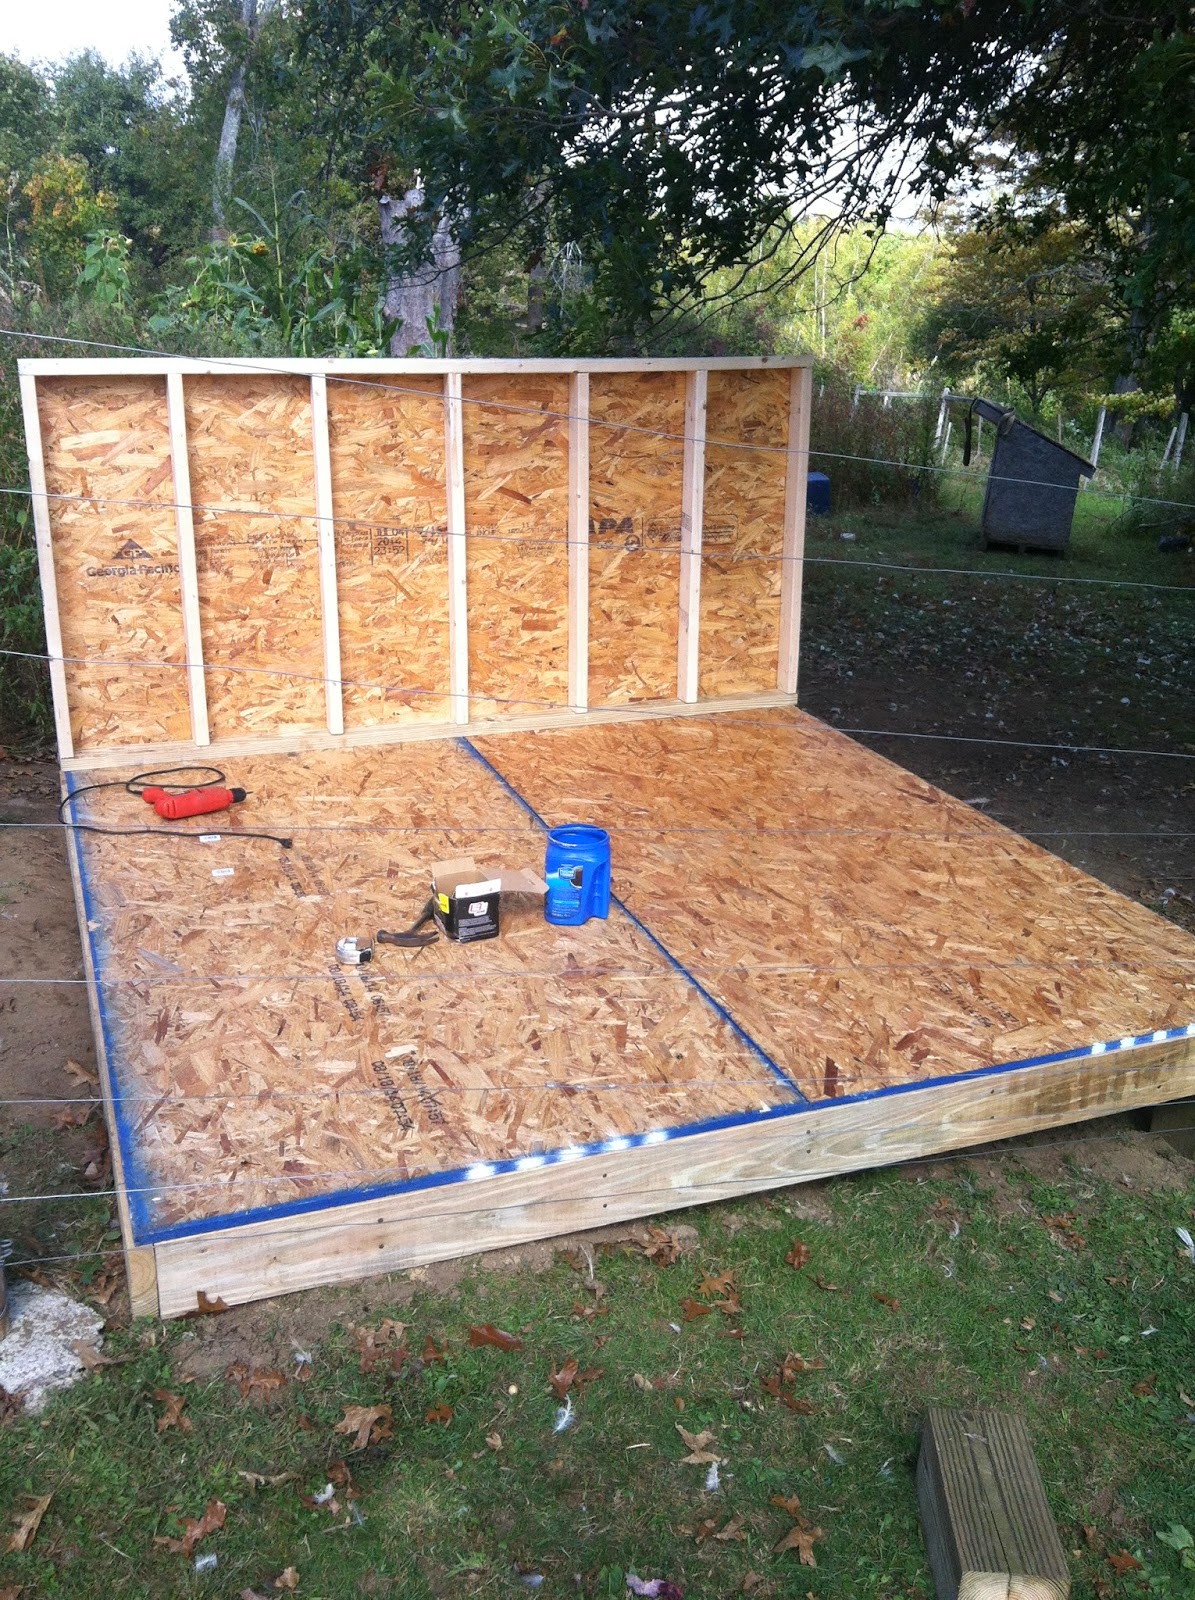
The new coop was built with the studs 16" on center which means the space between the studs should be 14 1/2" and that is where I will start. I grabbed a piece of scrap 2x6 in the workshop and found my 4" hole saw and got busy putting three 4" holes in the 2x6. The holes were not quite big enough so I worked them over on the spindle sander to get the pipe to fit the holes.
The pipes were all leftovers so I figured out a pipe length that I could get three equal length pieces out of what I had on hand. I made mine as long as I could for the space and with the pipe I had. Next was the trip to lowes, I always try to take a sample pipe with me to get plumping supplies, it generally helps to make sure you come home with the right stuff. I got three 4" STREET elbows and three 4" 45 degree couplers.
Getting "street" fittings makes it so you can add the 45 degree right after the 90 degree fitting. Basically using a "street" elbow makes it so that the two fittings attach to each other without using a piece of pipe.
So that is all my parts except for a box of #8x 1/2" self tapping pan head screws.
LETS BUILD!
 
I started from the top, putting three screws thru the pipe into the 2x6.
Repeat for all 3 pipes. The tops of the pipe is level with the top of the 2x6.
Next I put the three 90 degree elbows onto the pipes, I angled the outside fittings out a little to give the ladies some wing room at the feeder.

The 45 degree fittings slip right onto the street fittings and then...
I screwed it all together with three screws in the 90 degree fitting into the pipe and only one screw down from the top on the 45 degree fitting. I decided to use screws instead of glue because then I can take it apart for cleaning or repairs or whatever.
My feeder now looks like it might be something! The little girl is Camilla, one of my distinguished helpers!
Next I went out to my workshop and I made a top/ lid box thing...but I forgot my camera so it looks like this....

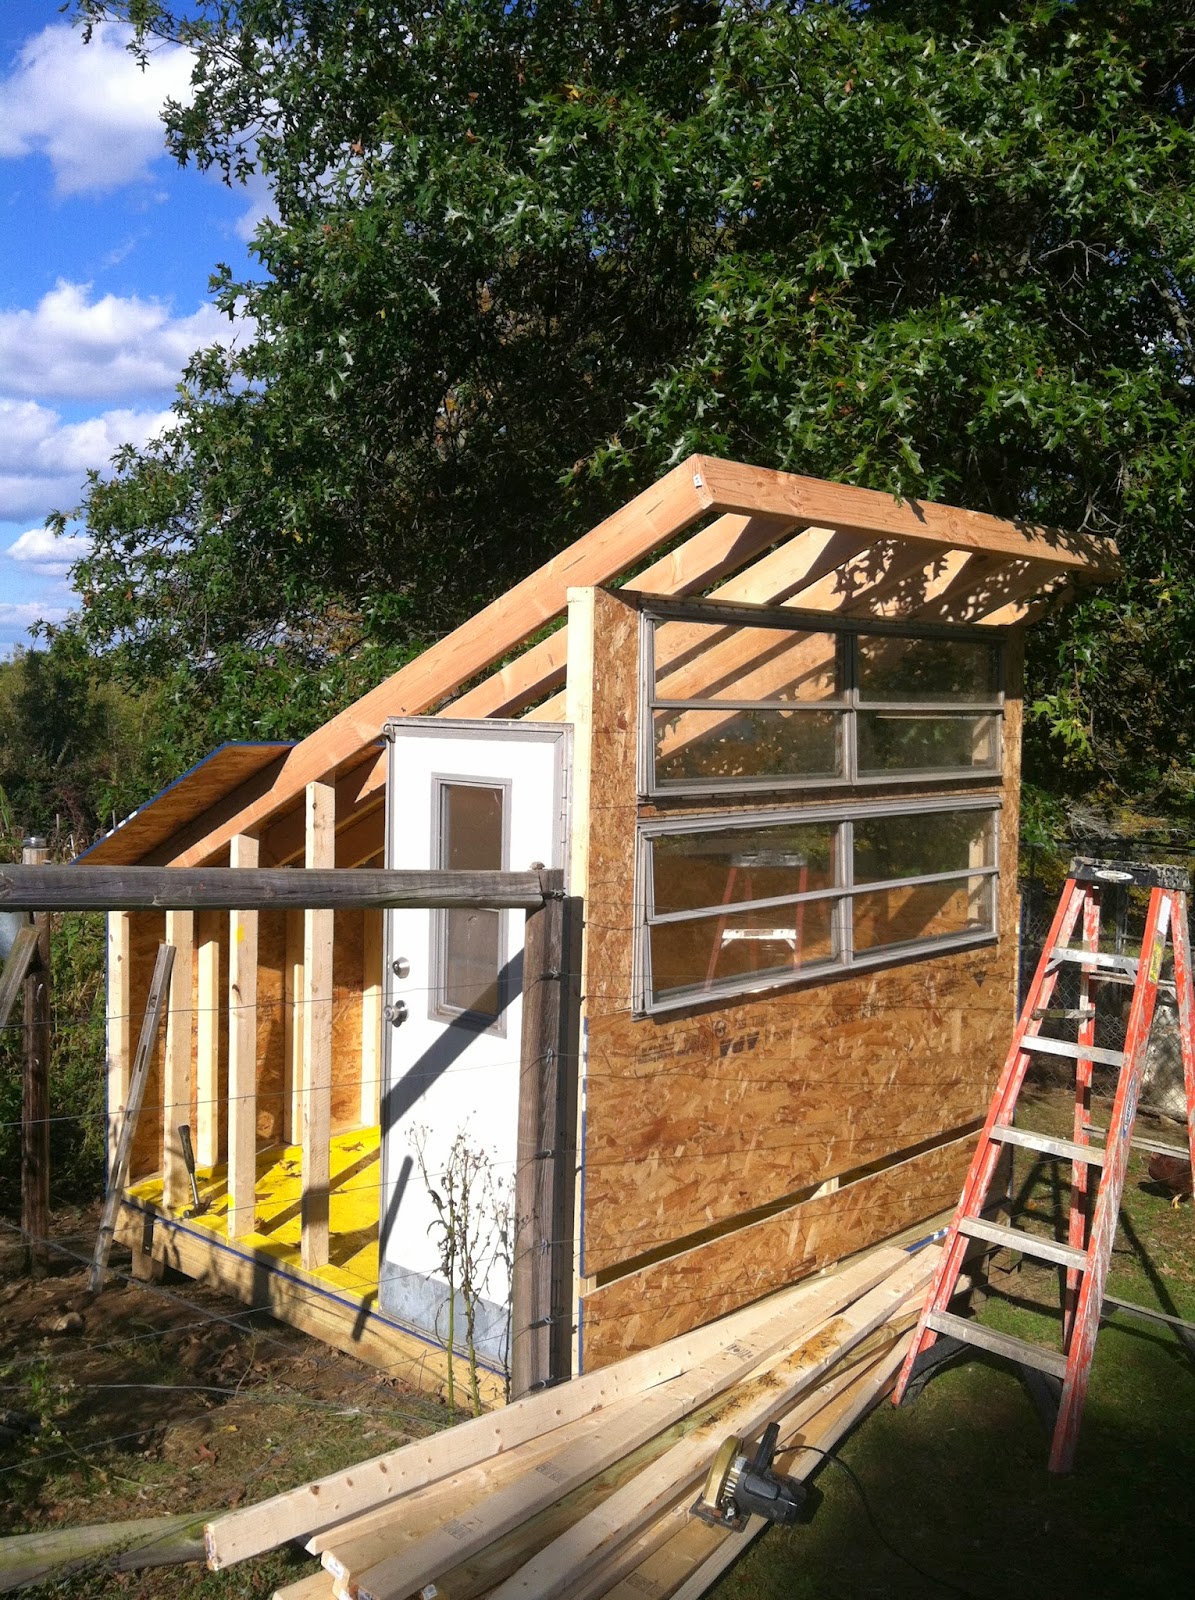
The box just sets on the top of the 2x6, it will get screwed into the studs in the coop so it stays put. Speaking of the coop, It's time to install the feeder! 

 
It fits snuggly between the studs and easily holds a 50lb bag of feed. The lid should keep out unwanted critters and stuff. Just one note on filling the feeder...put a scoop or two in the bottom first! If you just dump in from the top the feed quickly exits the bottom! But if there is feed in the bottom already then it fills the tubes. In the last picture there is about 30lbs of feed in the feeder and the tubes are not quite half full! The Ladies of the coop are a well fed group!
If you have any questions or comments please leave them below!
 
May GOD Bless you all!
Thomas

Check out our New improved Website!

Thursday, December 4, 2014

Newly Released "Not Your Typical" Stuff

New " Not your Typical" Products for the Fall of 2014

This has been a great Fall here on the farm! I was able to spend some time in the shop working on some exciting new projects!

First is our "Not Your Typical" Salad tongs! An all wood design that uses the flexibility of the wood to spring them open! they have been very well received and get rave reviews from our product test family!

 
   Next is what we like to call "Not Your Typical" bagel tongs these were conceived after our store bought pair of toaster tongs broke in half while removing toast from the toaster! So we took the idea to the drawing board and came up with our "Not Your Typical" Bagel tongs these are all wood and are much wider than the made in china ones that we had been using. Made of Sugar Maple, finished with beeswax and mineral oil these should last Generations! Our product test family of 5 told us that they were fantastic! included in the picture is a pair of "Name Brand" tongs, made in china.... they didn't make it a week around here! The bagel tongs we make are still going strong and they are American made!


While we were working on kitchen utensils we thought it might be a good idea to redo a dining room staple and put our "Not your Typical"  twist on a trivet! We already have way more trivets than we can use. What we don't have is great ways to store our trivets because they are so big! What we need is a trivet that is big enough for Mema's lasagna and yet small enough to fit in a kitchen drawer. So we Happily introduce the "Not your Typical expanding trivet". Small enough for a pot of soup, Big enough for lasagna, and compact enough to fit in a kitchen drawer!
Made in Sugar Maple, Mahogany and Walnut
Soup size and Lasagna size
Extends to over 3 feet!


Shrinks down to just over 2 inches to fit in a drawer!
 We have some bamboo utensils that we use regularly in our kitchen and we have been trying to come up with something made at the home workshop that would be as good or better than the made in china bamboo utensils that we are using right now. We are pleased to bring you Made in Morris, Ct steam bent hardwood kitchen spatulas! We have made these from various hardwoods such as ash, maple, red oak and walnut. they are as useful as they are naturally beautiful. We sent samples to our product test family (chosen for their BRUTAL honesty) with the question what would you use it for? they said everything! stir fry veggies, cook eggs, stirring the slow cooker, it is a kitchen multitasker!


Wow that's a bunch of kitchen stuff! We do have something new that you can use in every room of the house. it is inspired by a book loving Mom that has some tendonitis or carpal tunnel problems. She said reading softcover books made her hands hurt because of the way she held the book. So we made her something to help with that! we call it a "Book Bird" they are a clever little thing, you can put your thumb in the hole and hold your book open single handed, read outside in a light breeze without your pages fluttering by, read that suspense thriller with one hand on the book and the other tightly clutching your blankie or just give it as a gift to your favorite book lover!


Yup we have been busy around here! We still have more to come, but that will be in another post!
 
Remember GOD is Love!


Tuesday, December 2, 2014

A New Home... For the Chickens

When we decided to enlarge our barn, we had decided that all the animals should be under one roof. That sounds pretty smart right? I thought so, but doing that put all the animals several hundred feet away from the garden, Again, sounds good...I mean we do have goats and goats are generally not overly fence shy. This was a good plan for almost two years until we all watched this Back to Eden gardening video. Then we decided to move the chickens to the garden and that they would need a new house. This is the building of that new chicken house!
 
The foundation is 6x6 pressure treated post with 2x6 pressure treated floor joists set 16" on center.  The size of the floor is 8'x8' to keep everything in nominal lengths. (and 8' boards fit in a minivan) The floor sheathing is 3/4" tongue and groove flooring. Later we painted this floor with 2 heavy coats of enamel paint to protect it.
 
The first wall we put up is the back(north) wall. It is a full 8' long but only 4' high. I did this for several reasons, First it costs less to build that wall shorter, the chickens are not that tall anyway. Second, that is the north wall our prevailing winter winds come from the north. Third, we will get to later... 
Next came the front (south facing) wall. This wall is  7' tall and has 2 big windows that were removed from a travel trailer that was retired. They are simple to install with just screws, they all crank open and they were FREE!!! The space at the bottom eventually holds the nesting boxes so we can gather eggs from the outside. You can see my pretty yellow floor!
 After the front and rear walls are all squared up we moved onto the rafters. The rafters are 10' 2x6's. This is where the shorter rear wall helps us out. with a 10' length it left about 18" hanging over the front wall of the coop. The theory is that as the sun gets higher in the summer then it will shade the windows allowing for a cooler coop. The lower the sun gets in the winter the more sun will enter the coop for heat and light. I will keep you updated on how that works out.
 The sides are simple, we just filled in the space with 2x4's and covered with OSB sheathing! Then we installed the door from the same travel trailer that the windows came out of! It even has a screen door and the window opens!
 Here we are almost getting close to having it all buttoned up, we need to install a little more sheathing, build the nesting boxes, do the roofing, and siding.....I said almost getting close...
 This is an inside view looking at our three level roosts with center supports. that's a total of 24' of roost length...and they still fight for the top bar!
If you want to get eggs in the winter you have to give the birds some artificial light. These lights are 24 volt LED strip lights. There are 4 36" light bars. The picture does them no justice, they are really bright and waterproof!
A nighttime view of the "almost" finished coop.
 
I hope this inspires you to build some luxury housing for your poultry! By the way, our farm goose "Oscar" will not go into the coop unless picked up and carried in. I have no idea why? He sleeps with the ducks in a calf hutch nearby.
 
May GOD bless you and yours this holiday season!
Thanks for reading! Thomas