When we decided to enlarge our barn, we had decided that all the animals should be under one roof. That sounds pretty smart right? I thought so, but doing that put all the animals several hundred feet away from the garden, Again, sounds good...I mean we do have goats and goats are generally not overly fence shy. This was a good plan for almost two years until we all watched this Back to Eden gardening video. Then we decided to move the chickens to the garden and that they would need a new house. This is the building of that new chicken house!
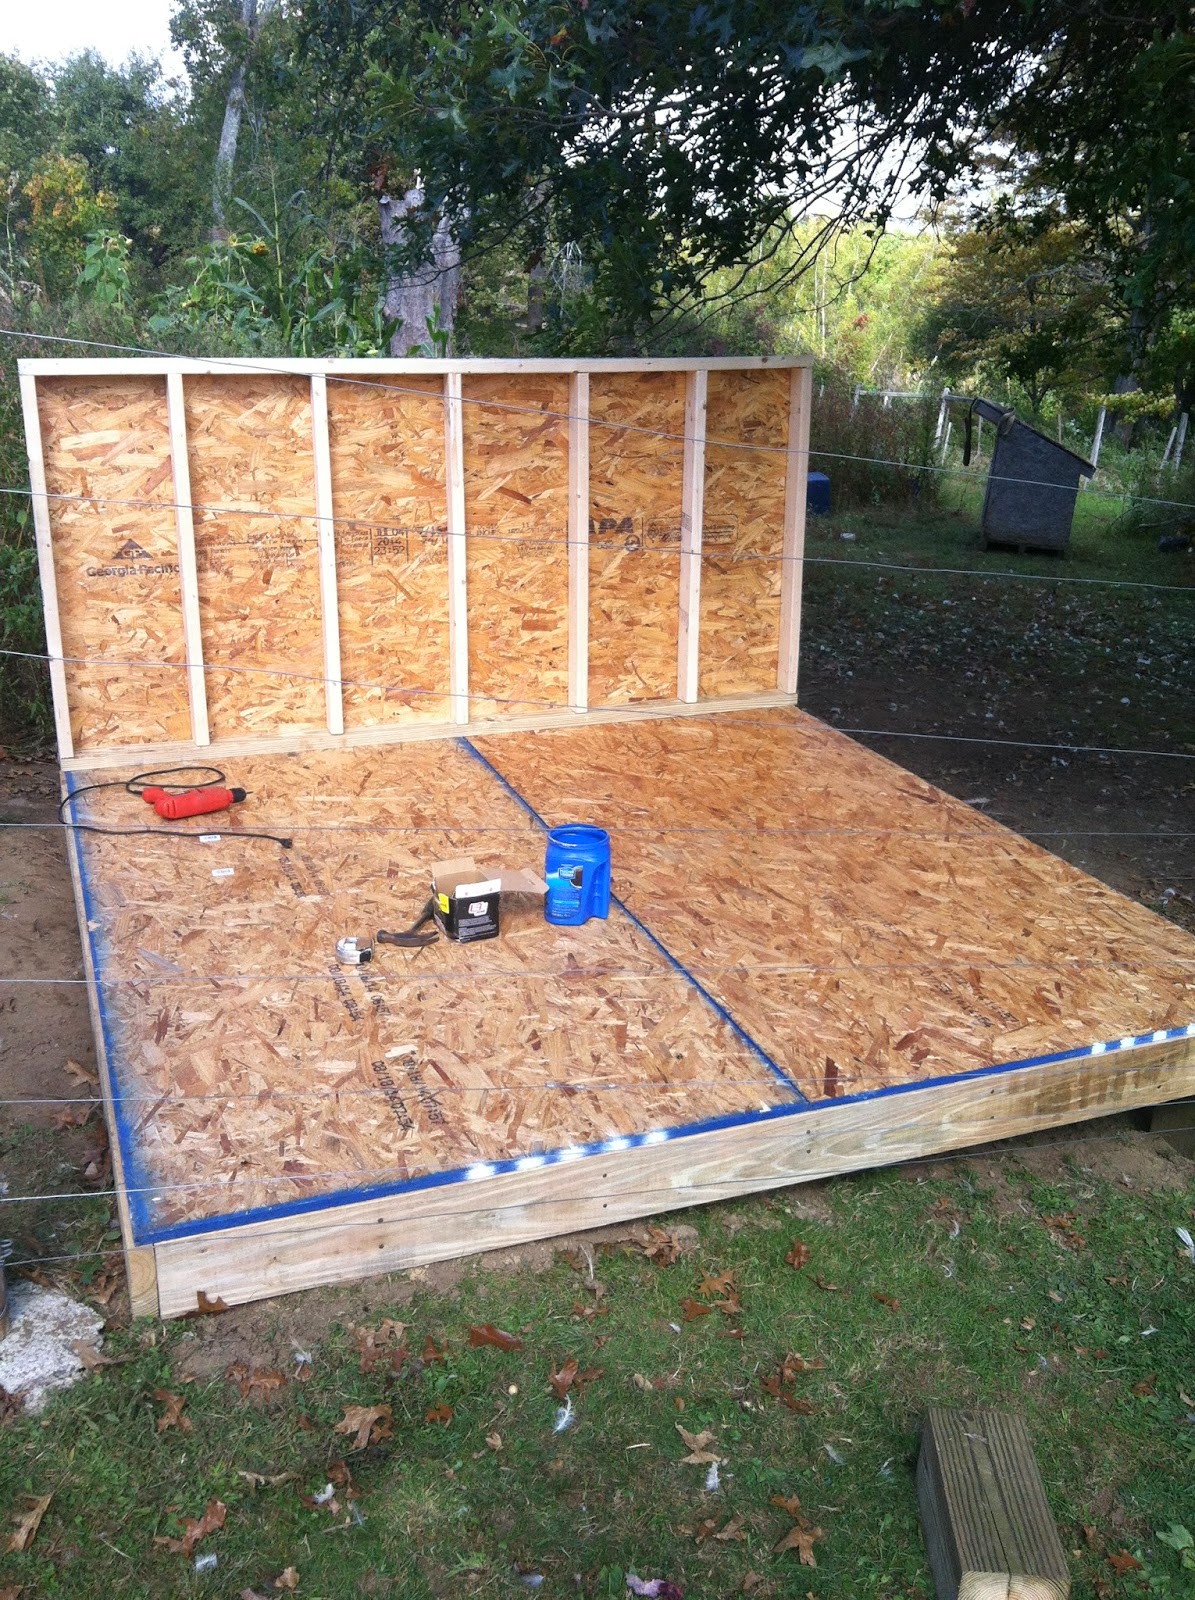
The foundation is 6x6 pressure treated post with 2x6 pressure treated floor joists set 16" on center. The size of the floor is 8'x8' to keep everything in nominal lengths. (and 8' boards fit in a minivan) The floor sheathing is 3/4" tongue and groove flooring. Later we painted this floor with 2 heavy coats of enamel paint to protect it.

The first wall we put up is the back(north) wall. It is a full 8' long but only 4' high. I did this for several reasons, First it costs less to build that wall shorter, the chickens are not that tall anyway. Second, that is the north wall our prevailing winter winds come from the north. Third, we will get to later...


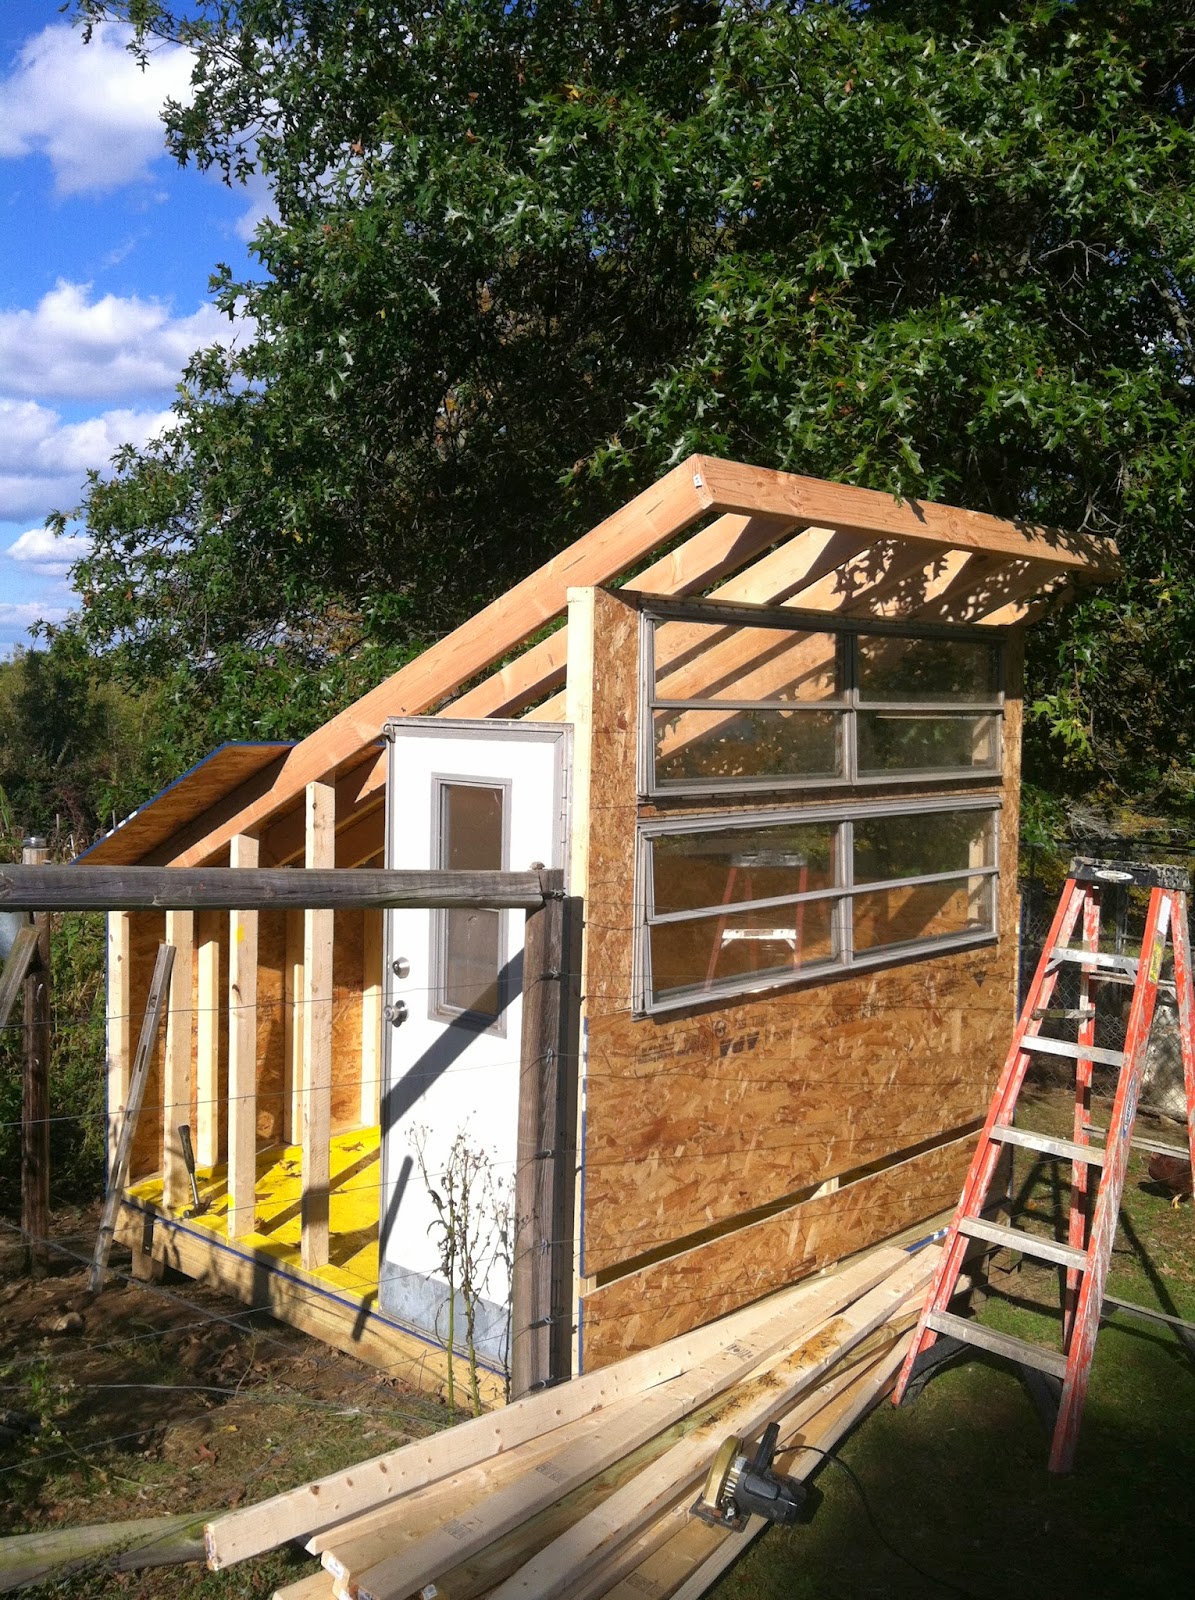


If you want to get eggs in the winter you have to give the birds some artificial light. These lights are 24 volt LED strip lights. There are 4 36" light bars. The picture does them no justice, they are really bright and waterproof!

A nighttime view of the "almost" finished coop.

I hope this inspires you to build some luxury housing for your poultry! By the way, our farm goose "Oscar" will not go into the coop unless picked up and carried in. I have no idea why? He sleeps with the ducks in a calf hutch nearby.
May GOD bless you and yours this holiday season!
Thanks for reading! Thomas
No comments:
Post a Comment